The Ice Shower: How I Hacked Cold Exposure on a Tiny Budget
A scrappy, portable setup that turned my cold showers into true 30–40°F exposure
The Ice Shower: How I Hacked Cold Exposure on a Tiny Budget
TL;DR: Daily ice baths were too expensive for me. I used a portable camping shower + an old cooler + one bag of ice to create a true ice‑cold shower (down to ~25°F water in the reservoir). It worked, then I refined the design. This post is the story, the logic, and an invite to help me improve the DIY version.
The Problem I Was Trying to Solve
After my 40‑day Wim Hof challenge, I loved how the ritual made me feel—clear, strong, alive. But keeping proper cold exposure going was brutal on my wallet. The cheap portable tub was fun, but buying 100+ pounds of ice every session wasn’t sustainable.
I looked into a small freezer to make blocks at home, but even then I’d still need trays, storage, and chemical maintenance to keep the tub water clean (pH, sanitizing)—it started to look like owning a tiny pool. I was doing it once a week, and honestly, going back to regular cold showers didn’t feel the same. There’s something about true 30–40°F water that hits your body differently.
I also tried a cheap countertop ice maker, thinking it could bridge the gap—but it took far too long to produce enough ice to meaningfully chill a filled tub. Hours of churning for barely a dent in temperature wasn’t practical.
So I asked a simple question: could I make a shower truly ice‑cold—without a full tub, massive ice runs, or pool chemistry?
The Scrappy First Build (It Actually Worked)
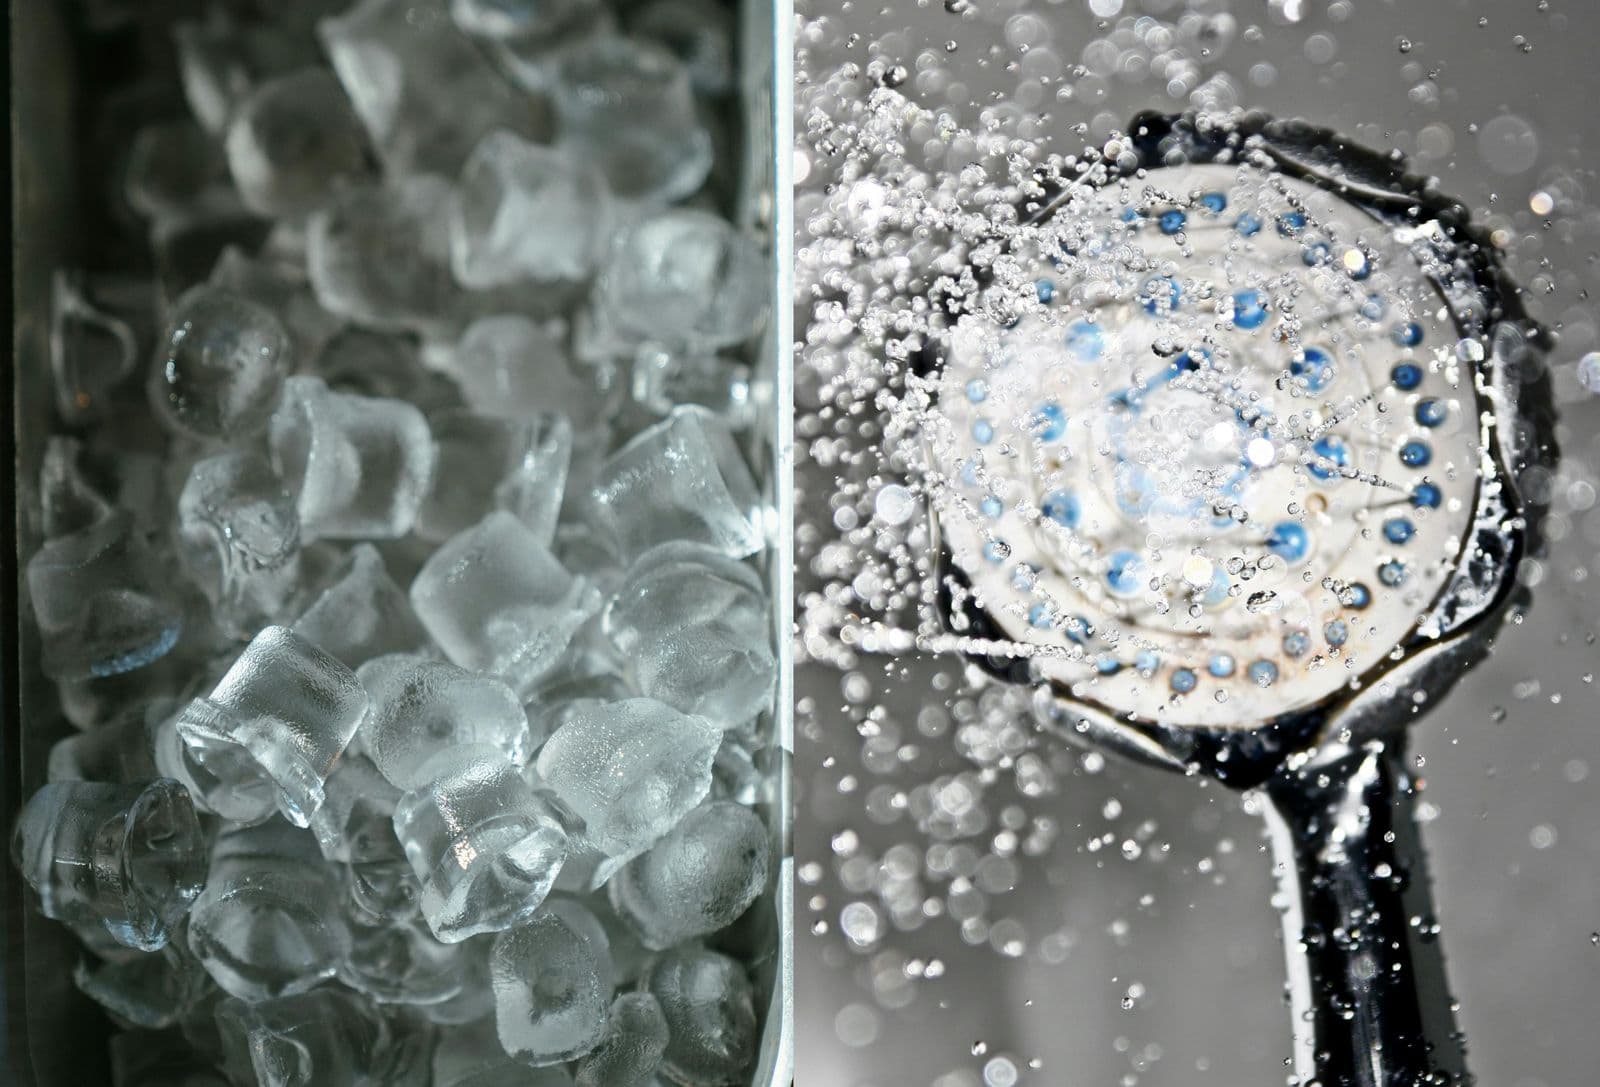
I bought a portable camping shower and dusted off an old cooler I wasn’t using. I picked up one bag of ice (not five), rigged a little pole to hold the shower head over the cooler, added water, and dropped in a thermometer to watch the temperature fall.
Because it was a small volume of water, it plunged fast—down to ~25°F in the reservoir. I worried the pump might warm the water as it ran, so I changed into swim trunks, took a breath, and flipped the switch.
It was cold. Not “refreshing” cold—ice cold. The first contact told me I’d stumbled onto something that could work for a lot of people who want real cold exposure but can’t afford a dedicated tub or daily ice.
That’s the moment this went from idea → experiment → a real, repeatable ritual.
Why This Was Different Than a Regular Cold Shower
- The water in the reservoir was truly cold (not just “as cold as my house pipes allow”).
- The portable pump and shower head let me control flow and position.
- One bag of ice + small water volume = fast chilling and far less cost per session.
I started using it more and realized the setup wasn’t perfect—but it was practical. Then I began refining the build to be safer, cleaner, and easier to use.
Why This Discovery Mattered
This wasn’t about building a perfect setup—it was about finding a way to feel more alive without spending a fortune. The ice shower:
- Gave me access to truly cold water at home.
- Made sessions affordable enough to repeat consistently.
- Felt meaningfully different than regular “cold” tap water.
- Opened the door to a simple, sustainable morning ritual.
I’m not promising anyone a miracle—this is me sharing a scrappy solution that’s working for me, grounded in physiology that suggests why it might help.
What I Refined Next (Toward a Cleaner DIY)
Once I knew the concept worked, I focused on:
- Water hygiene: simple ways to keep sessions safe without pool‑level chemistry.
- Pump placement & tubing: reduce any warming from the pump and keep flow smooth.
- Mounting the shower head: make the position consistent and hands‑free.
- Ice strategy: small blocks or pre‑chill packs that re‑freeze easily.
- Thermometer and safety: visible readings, easy shutoff, clear rules.
Join the Build: Community‑Driven Improvements
My goal isn’t just to share a blueprint—it’s to build this with you. Try the basic version if it fits your situation, then help improve it:
- Can you reduce ice further by pre‑chilling the reservoir?
- Better mounting ideas for the shower head?
- Smarter hygiene hacks for single‑use sessions?
Join the Simply Alive Facebook community to share your build ideas. I'll feature the best community builds and keep iterating.
Get the DIY Build Guide (Coming Soon)
I'm finalizing the step-by-step build guide with parts list, safety protocols, and design refinements. It's almost done—I just want to make sure the instructions are clear and safe.
Want it when it's ready? Drop your email below and I'll send it to you (plus any community improvements we discover).
If you already have a camping shower and cooler and want to experiment, reach out—I'd love to hear what you learn.
Safety Notes
- Start short; stop immediately if you feel dizzy or numb.
- Check the water temperature with a thermometer; don’t guess.
- Avoid slippery floors; set the shower head securely.
- Cold exposure isn’t for everyone—talk to a pro if you have cardiovascular or Raynaud’s concerns.
Final Thought
I didn’t make this because I wanted a project—I made it because I needed a way to keep feeling alive without wrecking my budget. If it helps you unlock cold exposure at home, I’m thrilled. If you make it better, I’m even more excited.
Let’s build this together.
IP note: Patent pending. Personal DIY use only; commercial manufacturing, distribution, or sale of products based on this design is not permitted without prior written permission.